![[Animation] - How did i make 2D animation?](/_next/image?url=https%3A%2F%2Ffoxgamelab-web.sgp1.digitaloceanspaces.com%2Fblog-images%2Fblog-image-1756524517304-p1hhkm.jpg&w=3840&q=75)
Before starting this project, I had some experience with two ways of doing 2D Animation, which are Sprite sheet Animation and Skeletal Animation. However, with those two methods, I realized that applying them to this project had many points that were not suitable for the art style and design of the game. Therefore, I learned a more accessible method that still ensures the requirements of the project, which is the Cut-out Animation method.
Let's see how I did it!
How did i make 2D animation?
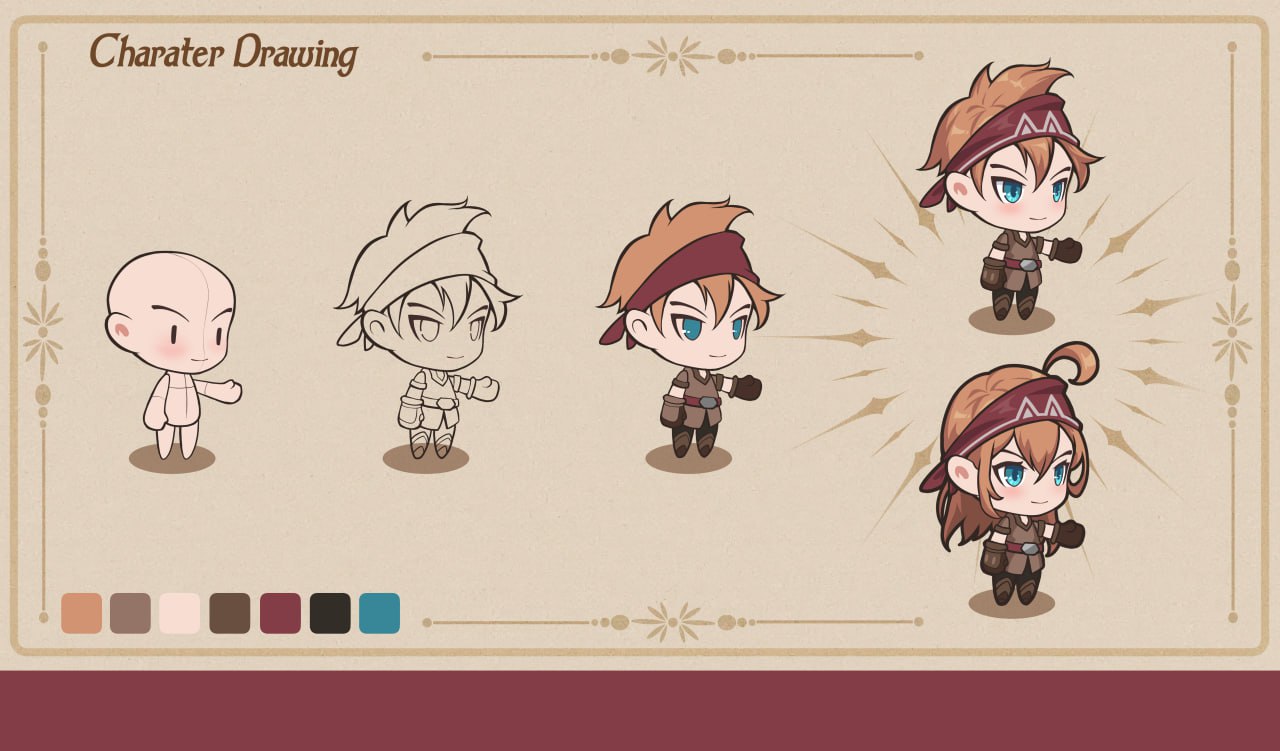
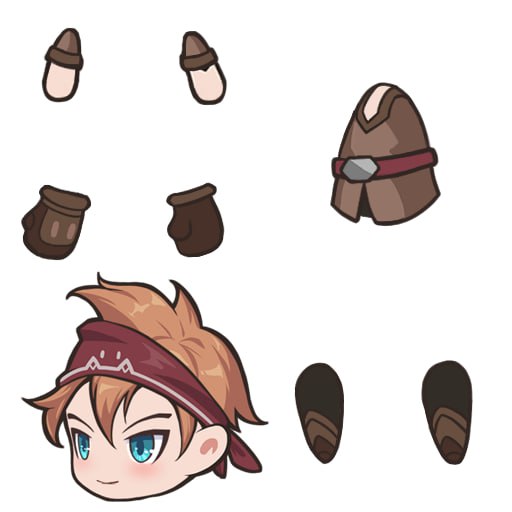
Step 1: Slice your character
Draw your character in Photoshop, then separate each layer: head, torso, arms, legs… and export them as PNG files.
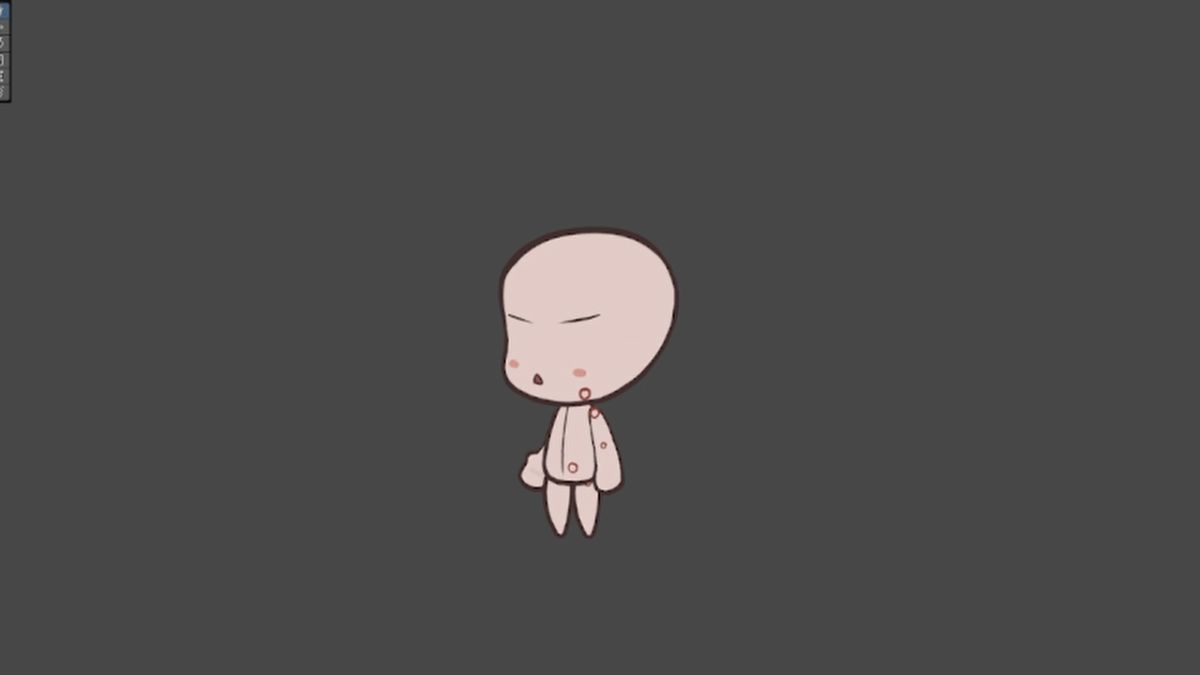
Step 2: Arrange in Unity
Import all the sprites into Unity, create a parent GameObject (e.g. Hero), and attach the child sprites to match your original concept.
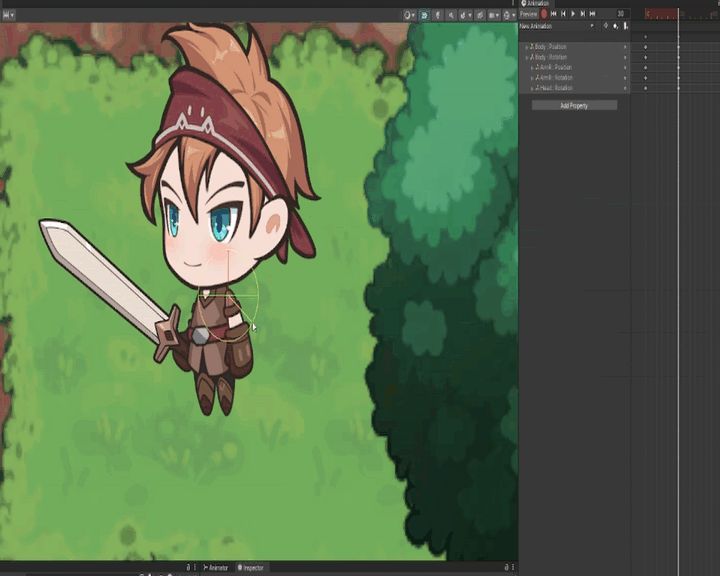
Step 3: Animate
Open Unity’s Animation window, create new clips (Idle, Walk, Attack…). Then simply rotate the head, lift the arms and legs, and record the movements with keyframes.
Step 4: Adjust & Tips
Slightly scale arms and legs for more natural motion.
Swap sprites for hands when holding weapons → super convenient.
Use curves to avoid stiff, robotic movements.
Why choose Cut-out animation for our project?
Easy to change costumes and weapons.
Runs smoothly on mobile.
Flexible enough for a wide range of animations.
Final thoughts
These are the steps and tips on how we use Cut-out animation in our project. It might not be perfect, but hopefully it gives you a fresh perspective on how 2D animation can be brought to life in games.
Thanks for reading, and see you in the next post!